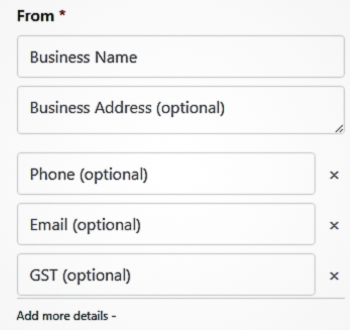
1. Enter Your Business Details
Start by entering your business name, address, phone number, email, and GST (if applicable). This information appears in the “From” section of your invoice.
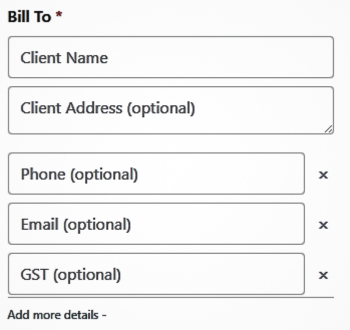
2. Add Client Billing Details
Fill in the client’s name, address, and contact details in the “Bill To” section. This ensures the invoice is correctly addressed to your customer.
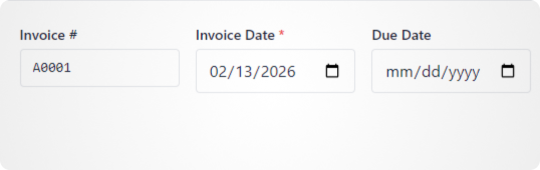
3. Set Invoice Number and Dates
Enter the invoice number, invoice date, and due date. These fields help maintain organized billing records and clear payment timelines.
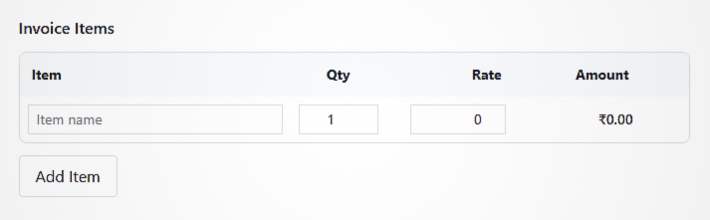
4. Add Items and Pricing
Add each product or service with description, quantity, and price. The total amount updates automatically as you add items.
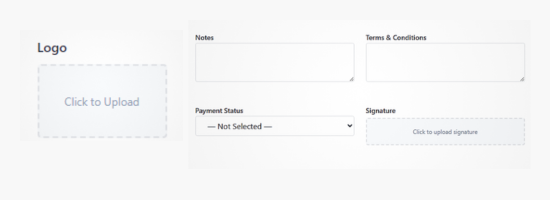
5. Customize Invoice (Logo, Signature & Terms)
Upload your logo, add your signature, include payment terms, notes, and select invoice status such as Paid or Unpaid to personalize the invoice.
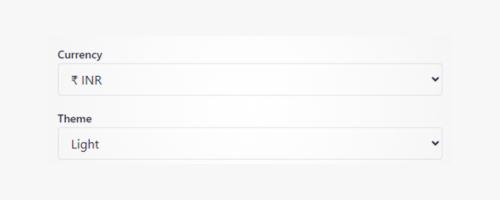
6. Select Currency
Choose between Dollar ($), Rupee (₹), or Euro (€) depending on your client’s region.